Field-Level Encryption in Kafka Without Code Changes Using Conduktor Gateway

The Problem: Multiple Teams Need Different Access Levels
Marketing and sales both want access to signed contract data. Sales needs complete information including contact details. Marketing only needs company and industry data, with PII encrypted.
Duplicating data for each team creates maintenance headaches and data discrepancy. Encrypting data in motion typically requires new client applications.
Conduktor Gateway solves this with configuration-only encryption. No new applications. Messages with sensitive fields can be encrypted for some teams and decrypted for others.
This tutorial uses the Conduktor Console UI and terminal commands together.
Prerequisites and Setup
Requirements:
- GitHub account
- Docker
- 4GB of RAM
- jq
Clone the repository:
git clone https://github.com/conduktor/tutorial-encryption-access.gitBuild and start the containers:
cd tutorial-encryption-access/ && docker compose up --detachThis starts Conduktor Console, Conduktor Gateway, PostgreSQL, and a Kafka cluster with networking between them.
Image downloads take a few minutes. The kafkabroker service needs up to a minute for health checks.
Once ready, open Conduktor Console at http://localhost:8080 and enter your details.
Verify the cluster is running:
docker compose psYou should see the Kafka container listening on port 9092:
apache/kafka:latest 9092/tcp kafkabrokerVirtual Clusters: Logical Isolation on One Physical Cluster
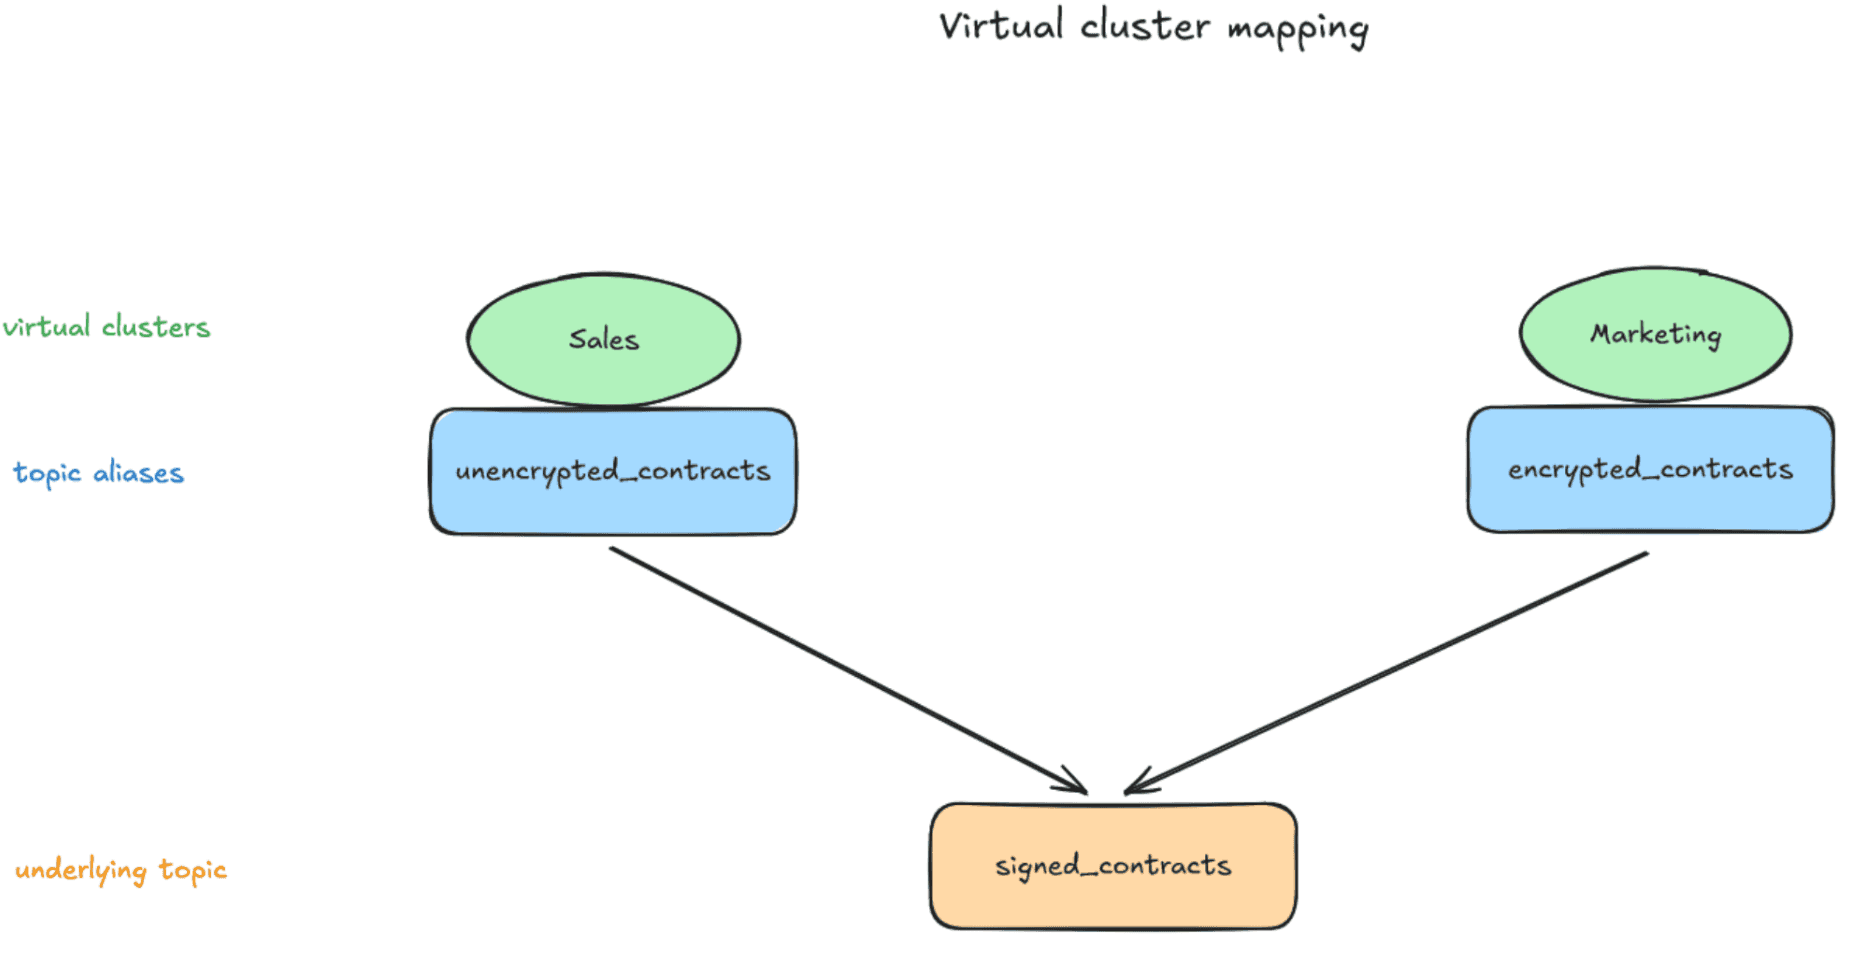
Virtual clusters (vClusters) create isolated logical clusters on a single physical Kafka cluster. The default vCluster is called 'passthrough'.
This diagram shows the vClusters we will create, their topics, and the physical cluster topic they map to:
Get credentials for the default vCluster with a POST request to Gateway. The token is valid for 90 days:
curl --request POST --silent \
 'http://localhost:8888/admin/vclusters/v1/vcluster/passthrough/username/admin' \
 --user 'admin:conduktor' \
 --header "Content-Type: application/json" \
 --data-raw '{"lifeTimeSeconds": 7776000}' |
 jq --raw-output .token | tee gateway-admin.properties
The resulting string starting with 'ey' is a base64-encoded JWT, your vCluster password.
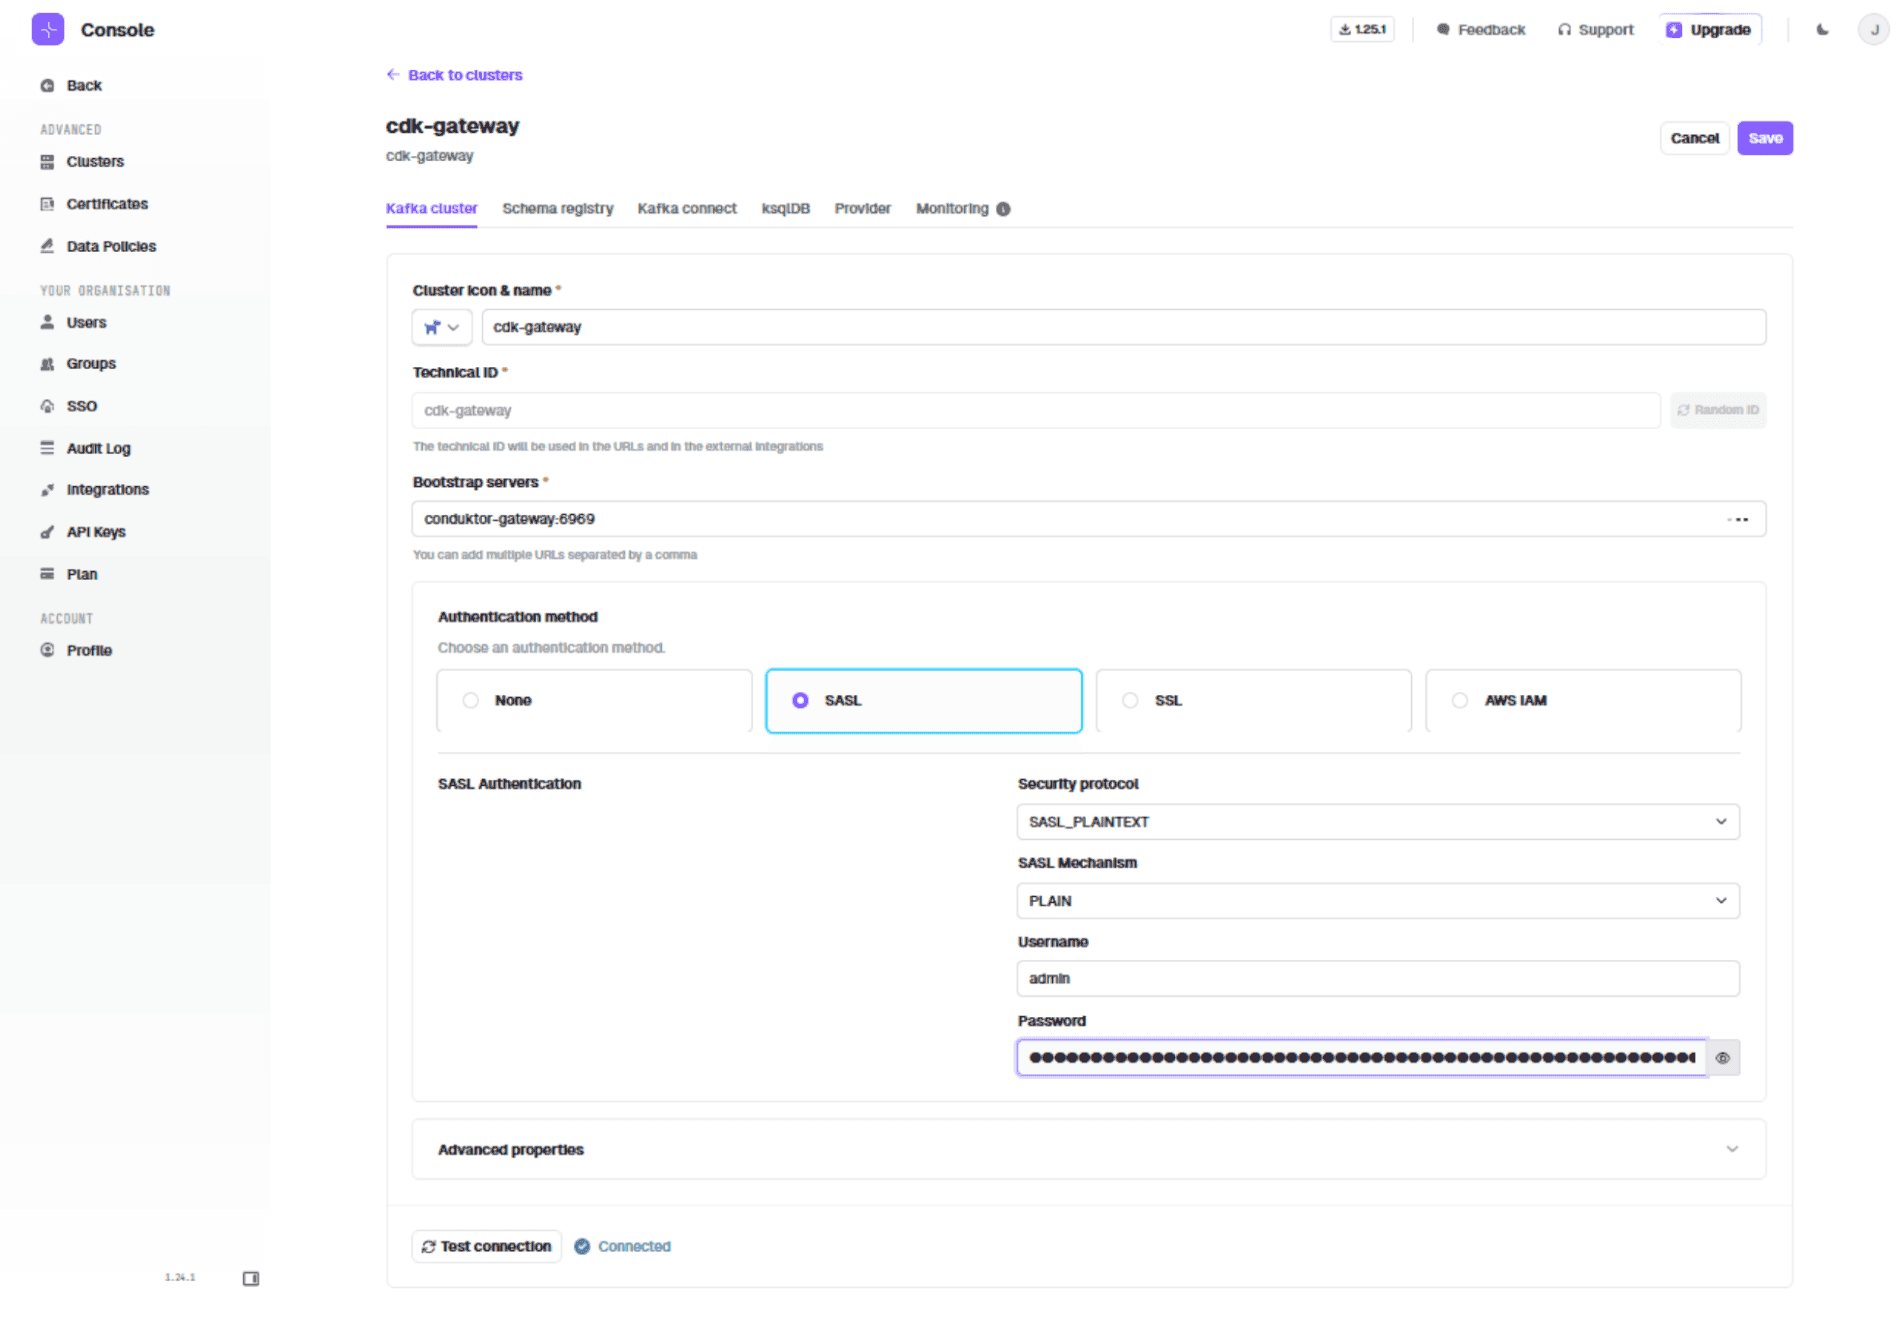
In Conduktor Console, edit the cluster cdk-gateway:
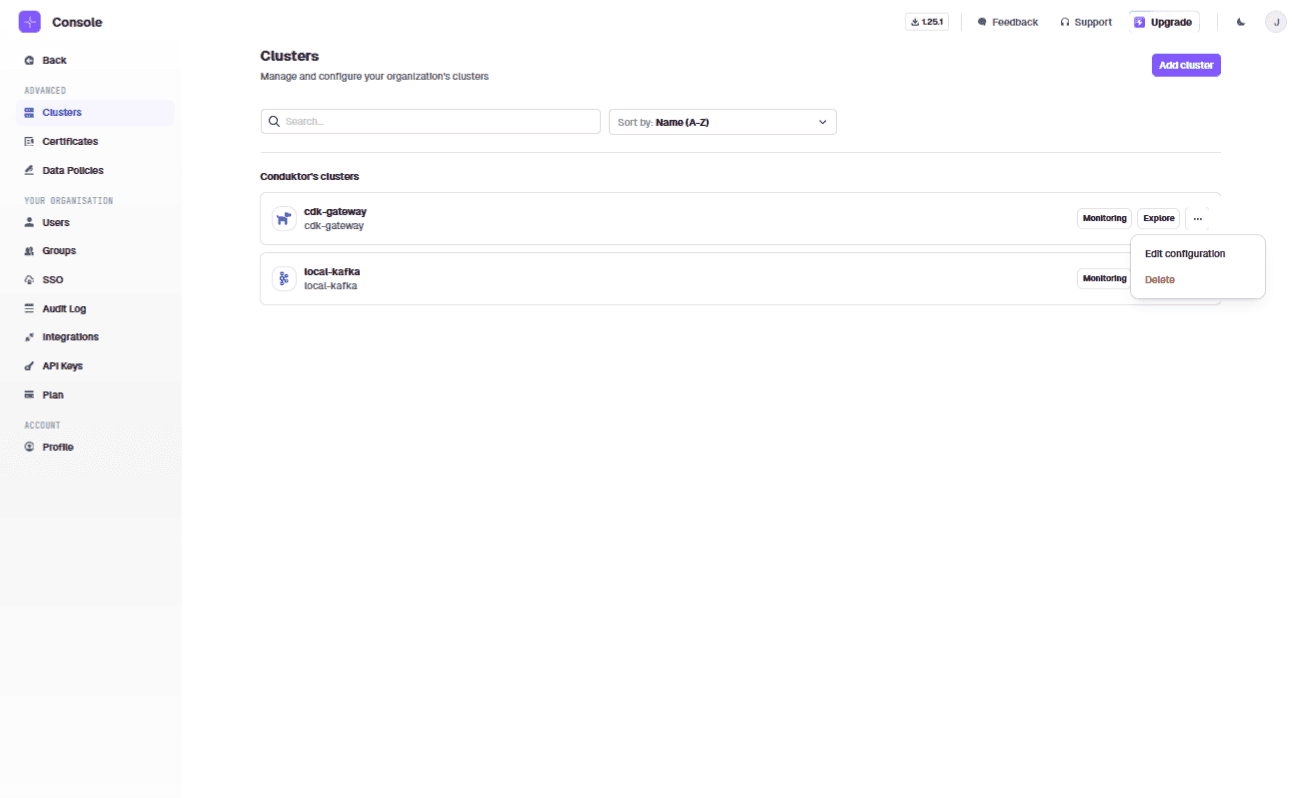
Switch to SASL_PLAINTEXT + PLAIN. Use the JWT as the password. Add the Gateway bootstrap server: "conduktor-gateway:6969"
If you restart the Gateway service, you will need to re-enter the token, recreate topics, and resend contracts.
Creating the Sales and Marketing Virtual Clusters
Create the sales vCluster:
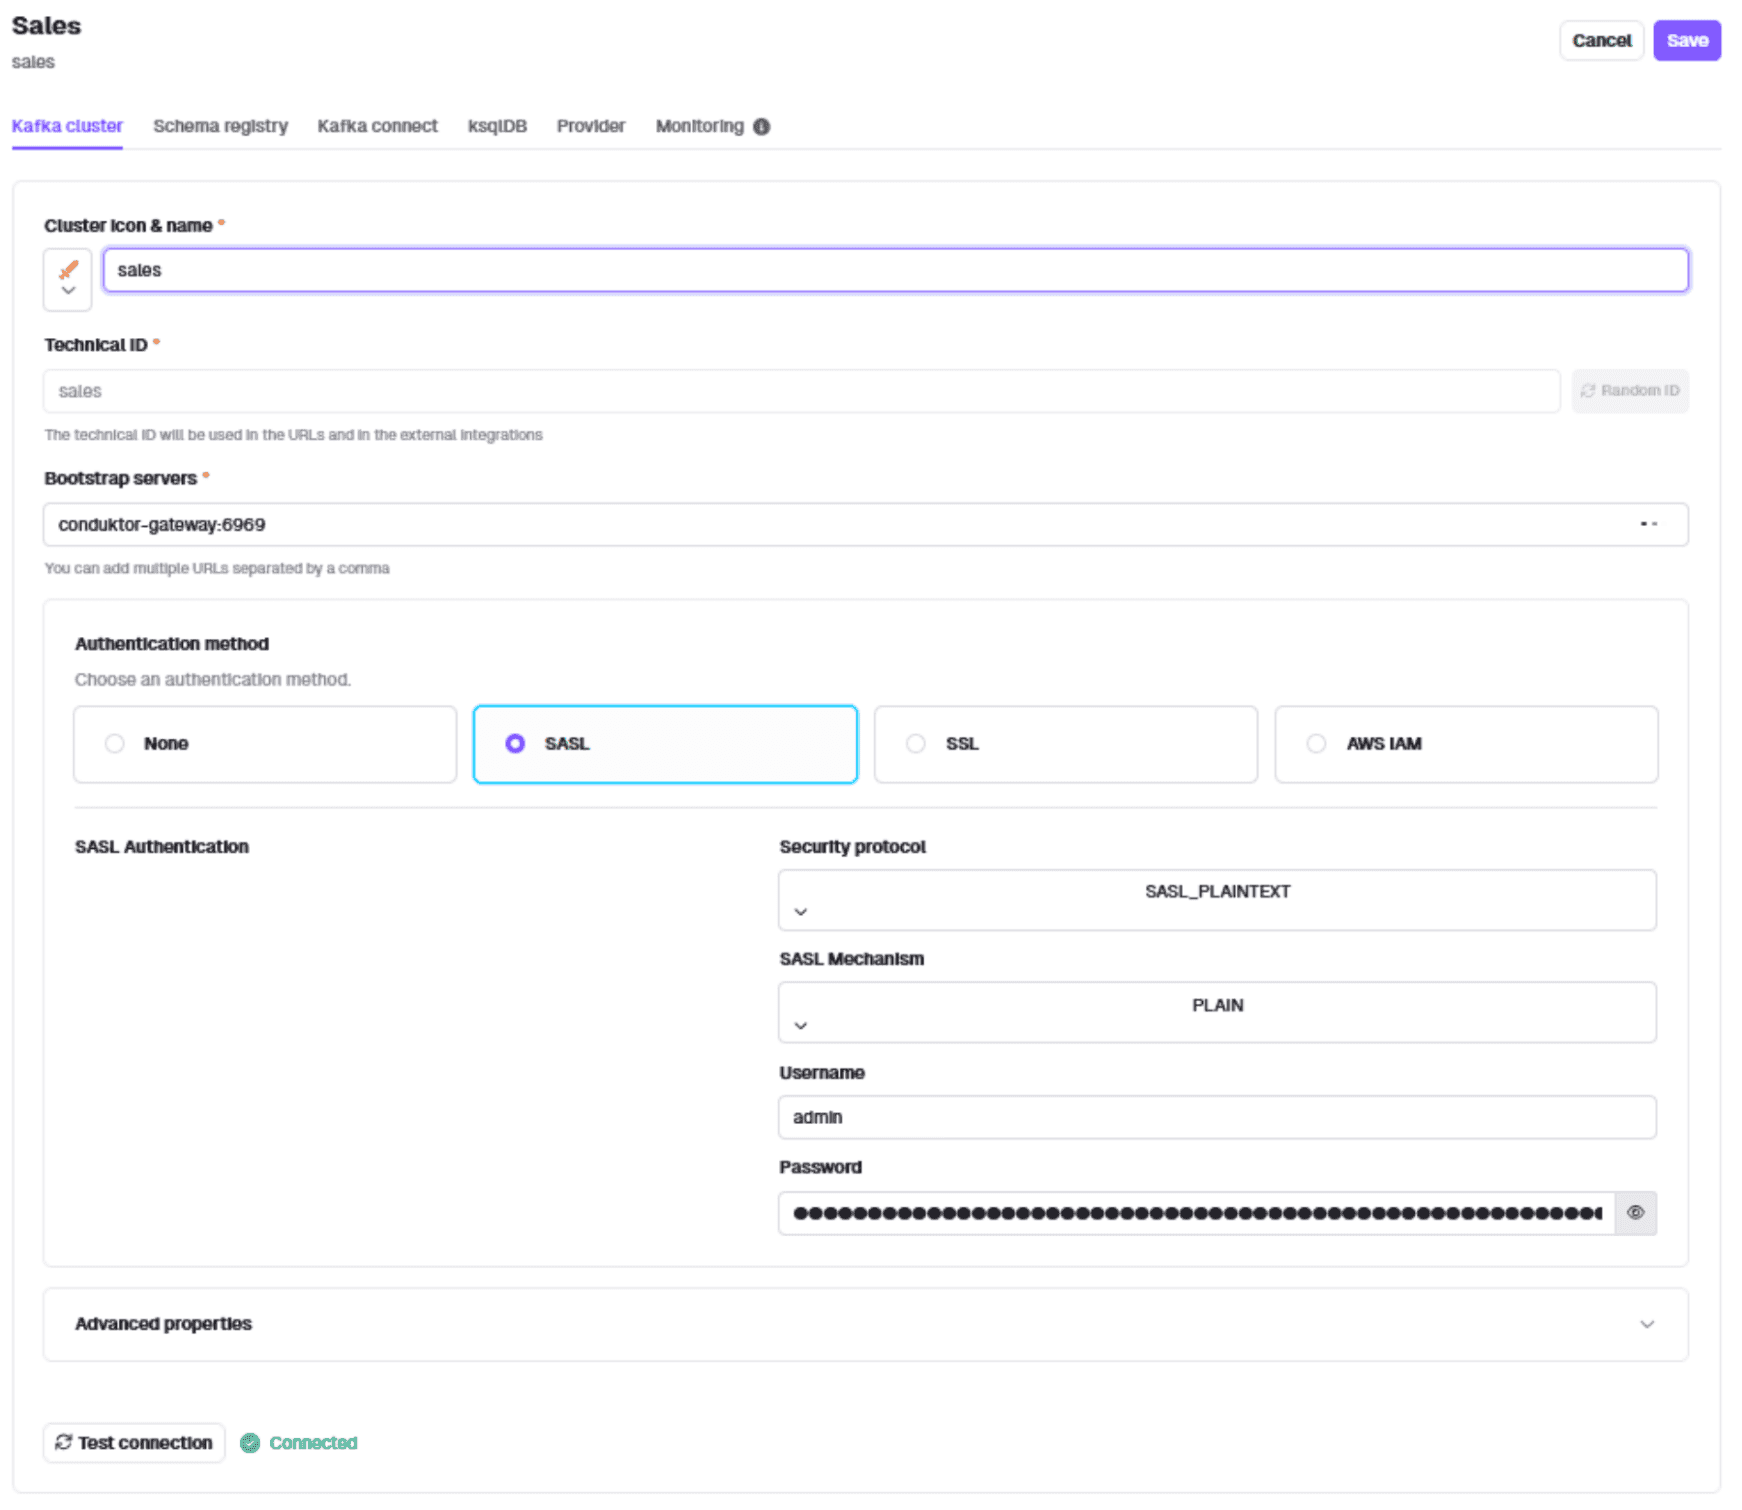
curl --request POST 'http://localhost:8888/admin/vclusters/v1/vcluster/sales/username/admin' \--user 'admin:conduktor' \--header 'Content-Type: application/json' \--silent \--data-raw '{"lifeTimeSeconds": 7776000}' | jq -r '.token' | tee sales-admin.propertiesAdd the sales cluster in Conduktor Console using 'Manage Clusters'. Use SASL_PLAINTEXT, PLAIN, the Gateway bootstrap server, and the sales vCluster token as password.
Create the marketing vCluster:
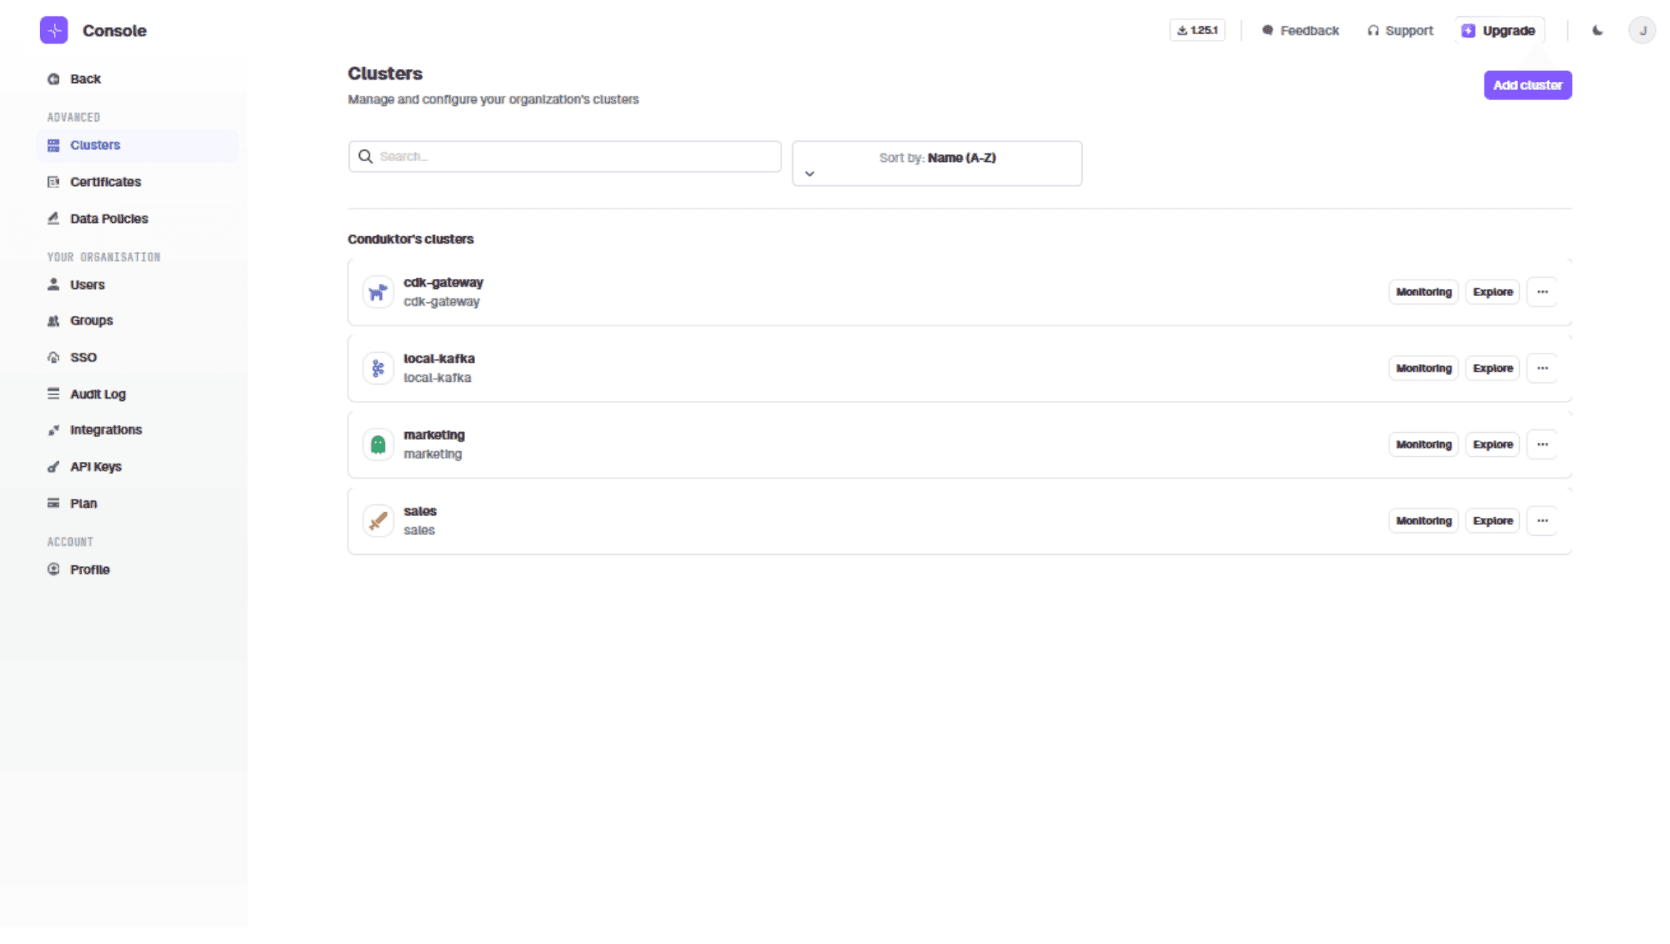
curl --request POST 'http://localhost:8888/admin/vclusters/v1/vcluster/marketing/username/admin' \--header 'Content-Type: application/json' \--user 'admin:conduktor' \--silent \--data-raw '{"lifeTimeSeconds": 7776000}' | jq --raw-output ".token" |tee marketing-admin.propertiesBoth clusters now appear in the UI:
Creating the Contract Topic and Test Messages
Open Conduktor Console at http://localhost:8080/console/cdk-gateway/topics.
Create a topic named 'signed-contracts' with default configuration.
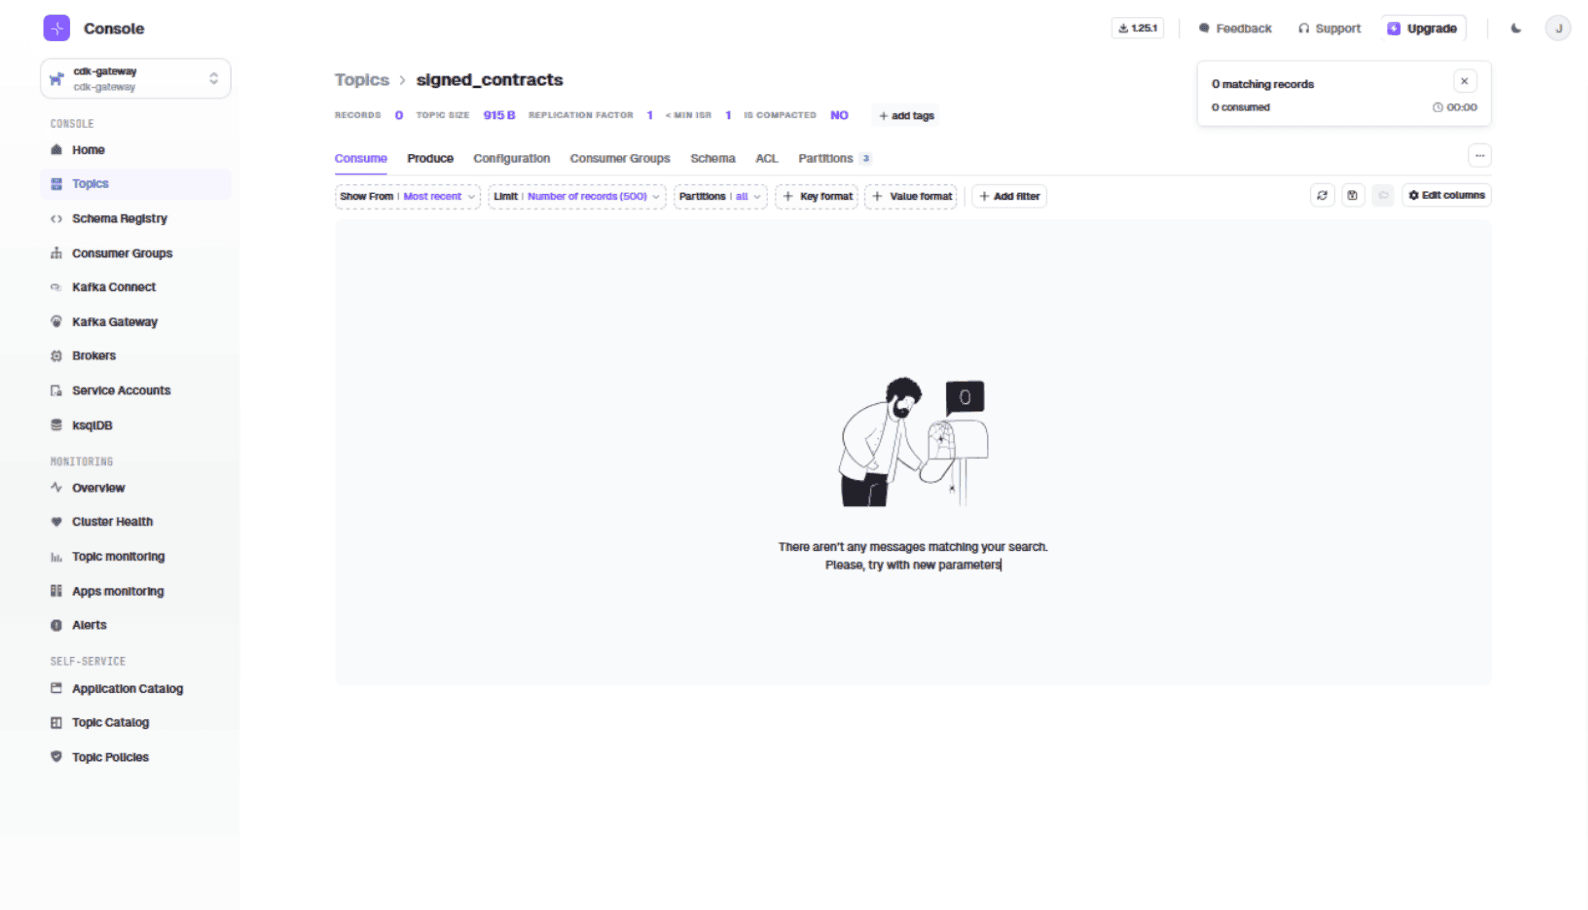
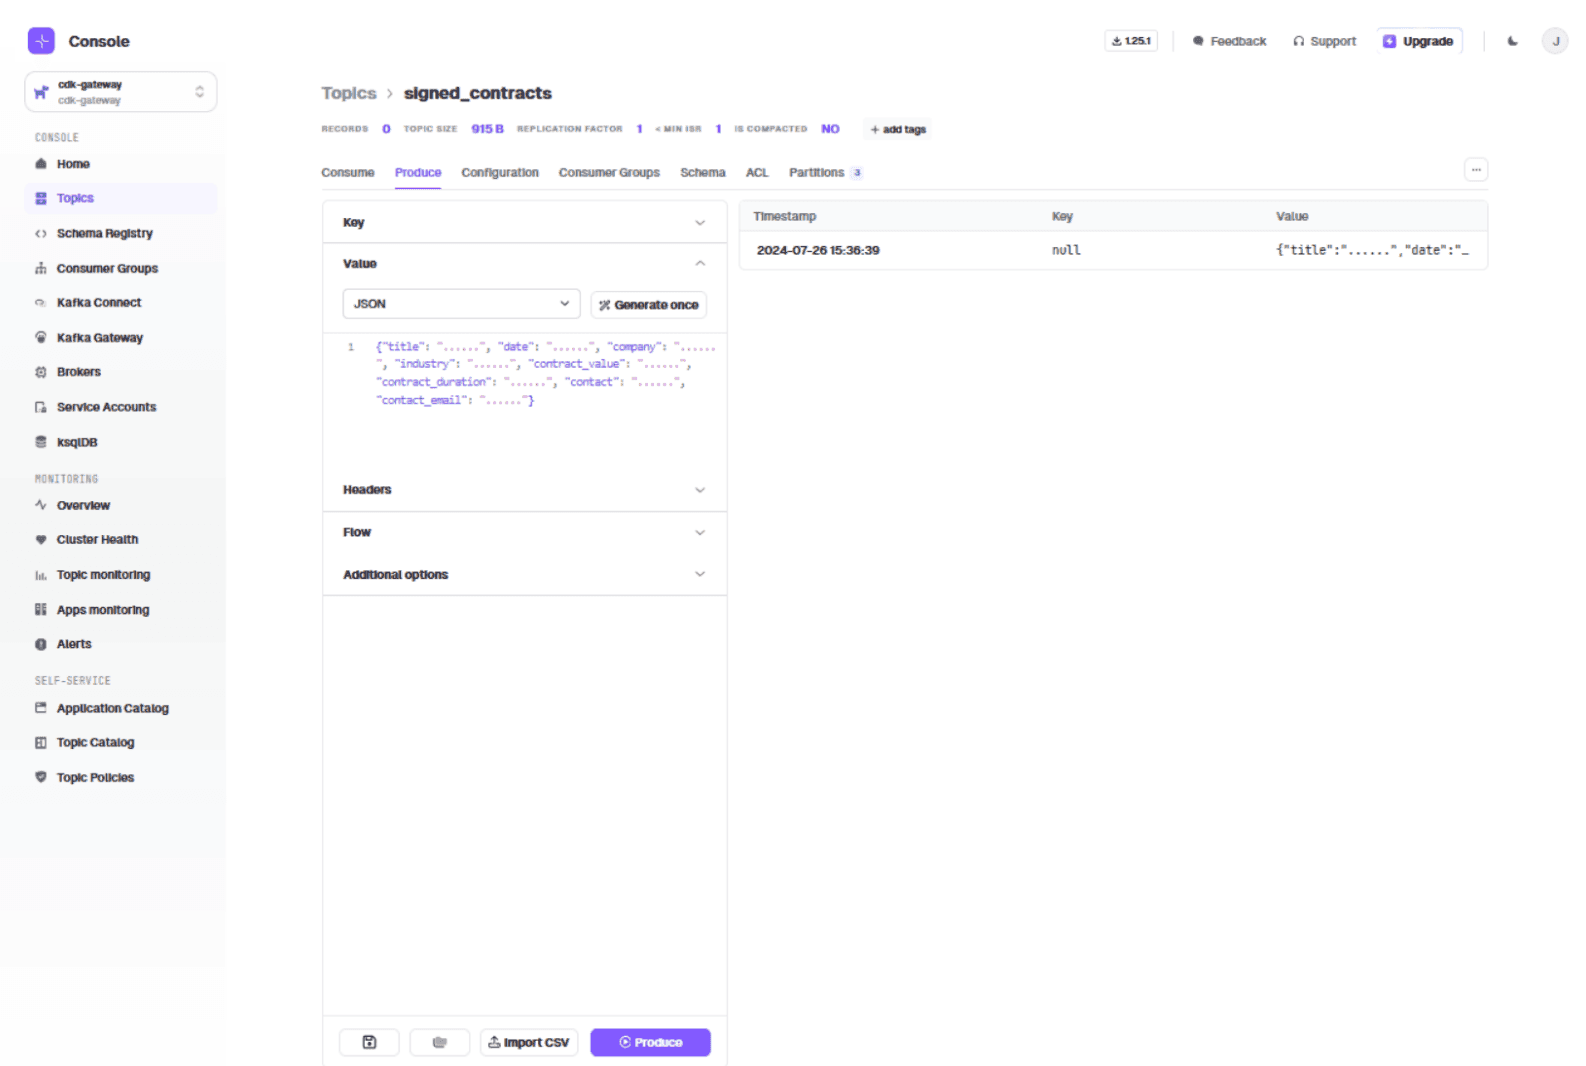
Produce a test message in the "Value" field:
{
  "title": "......",
  "date": "......",
  "company": "......",
  "industry": "......",
  "contract_value": "......",
  "contract_duration": "......",
  "contact": "......",
  "contact_email": "......"
}
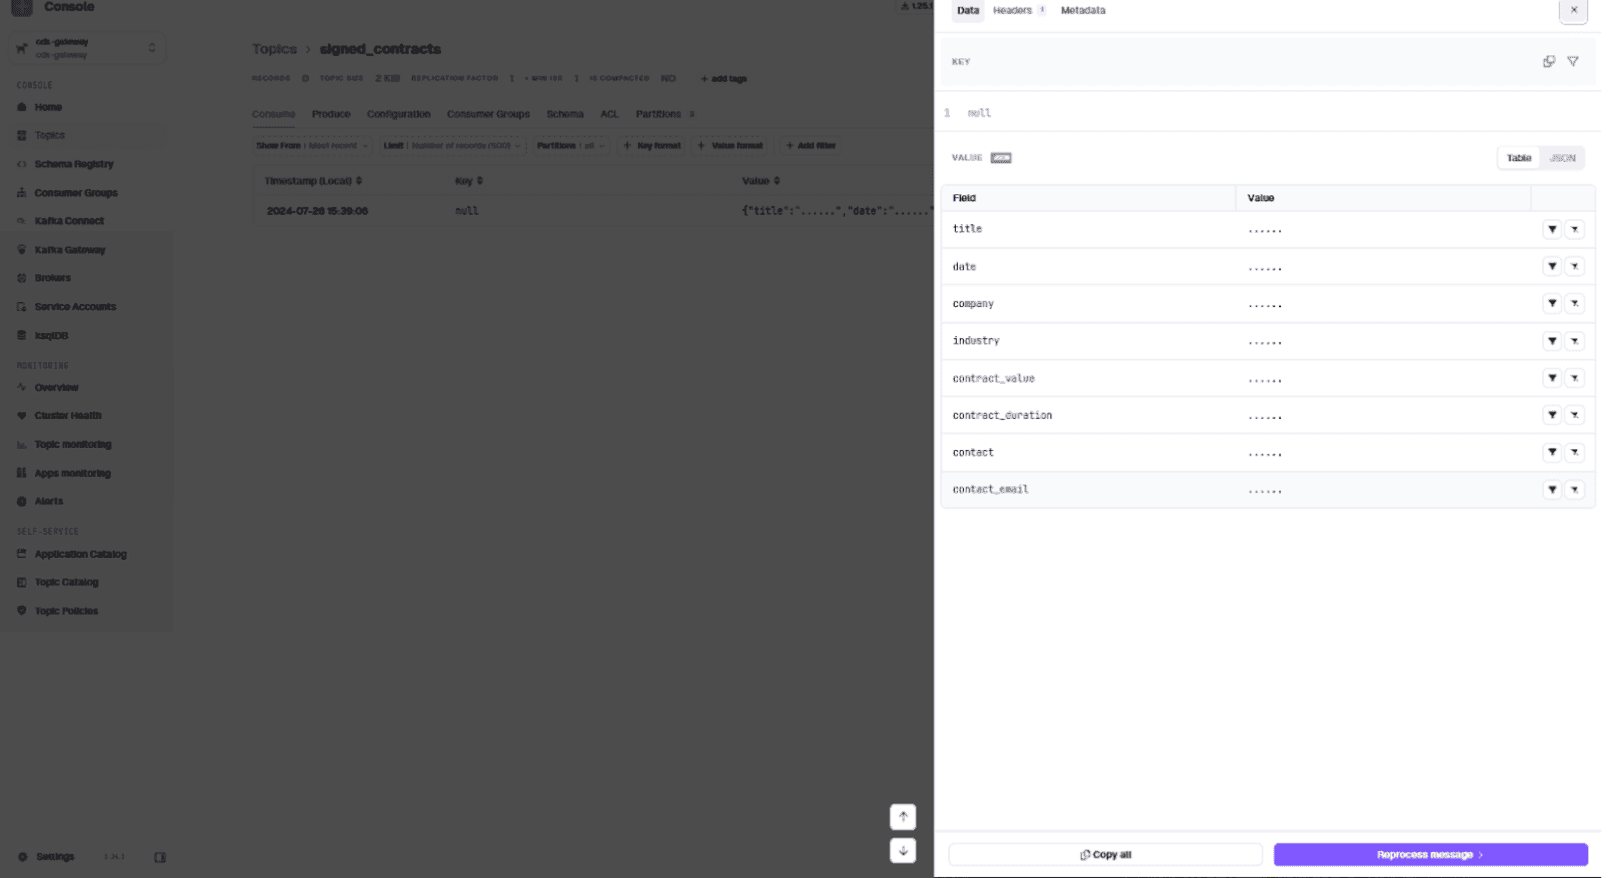
Click the message in the consume tab to see contents, header, and metadata:
Configuring the Encryption Interceptor
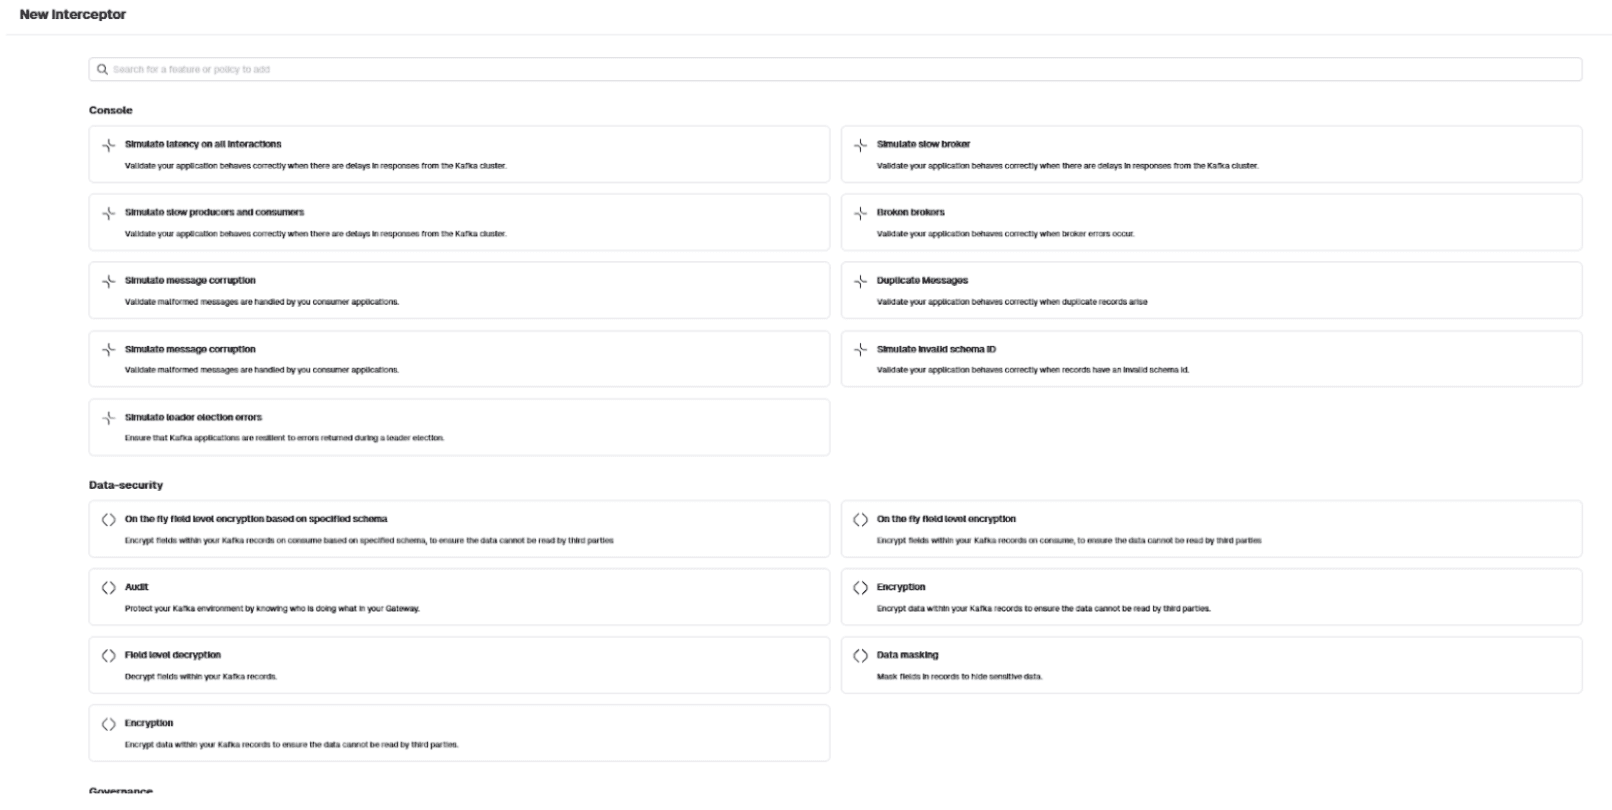
In the UI, go to Kafka Gateway and click 'Create my first interceptor'.
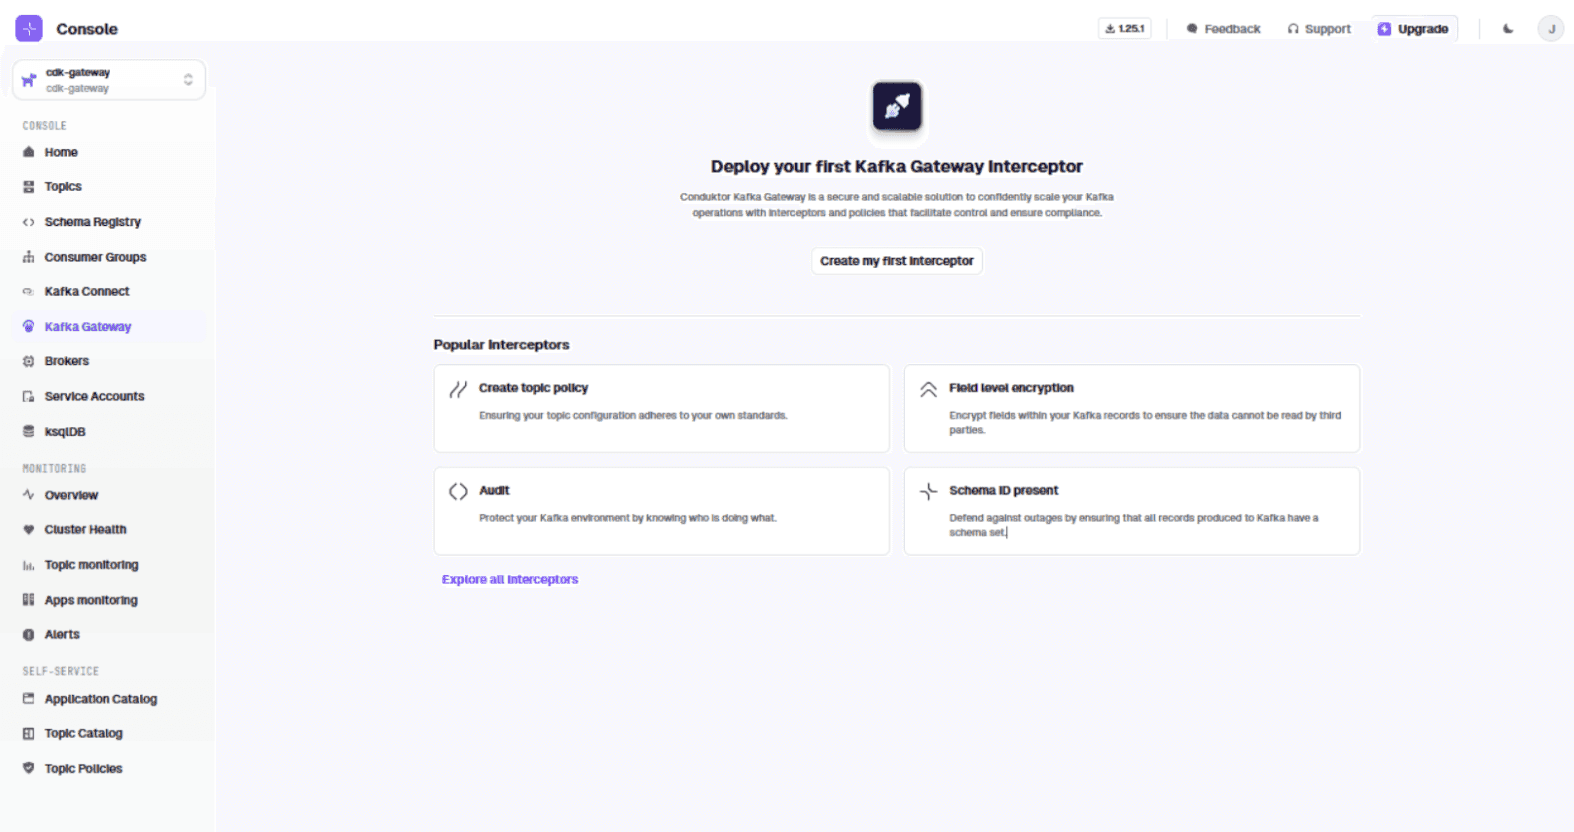
Select 'On the fly field level encryption' in the Data-security category.
Use this interceptor configuration:
{
  "name": "PII-Encryption",
  "pluginClass": "io.conduktor.gateway.interceptor.EncryptPlugin",
  "priority": 100,
  "config": {
    "topic": "signed_contracts",
    "recordValue": {
      "fields": [
        {
          "fieldName": "contact",
          "keySecretId": "name-secret",
          "algorithm": "AES128_GCM"
        },
        {
          "fieldName": "contact_email",
          "keySecretId": "email-secret",
          "algorithm": "AES128_GCM"
        }
      ]
    }
  }
}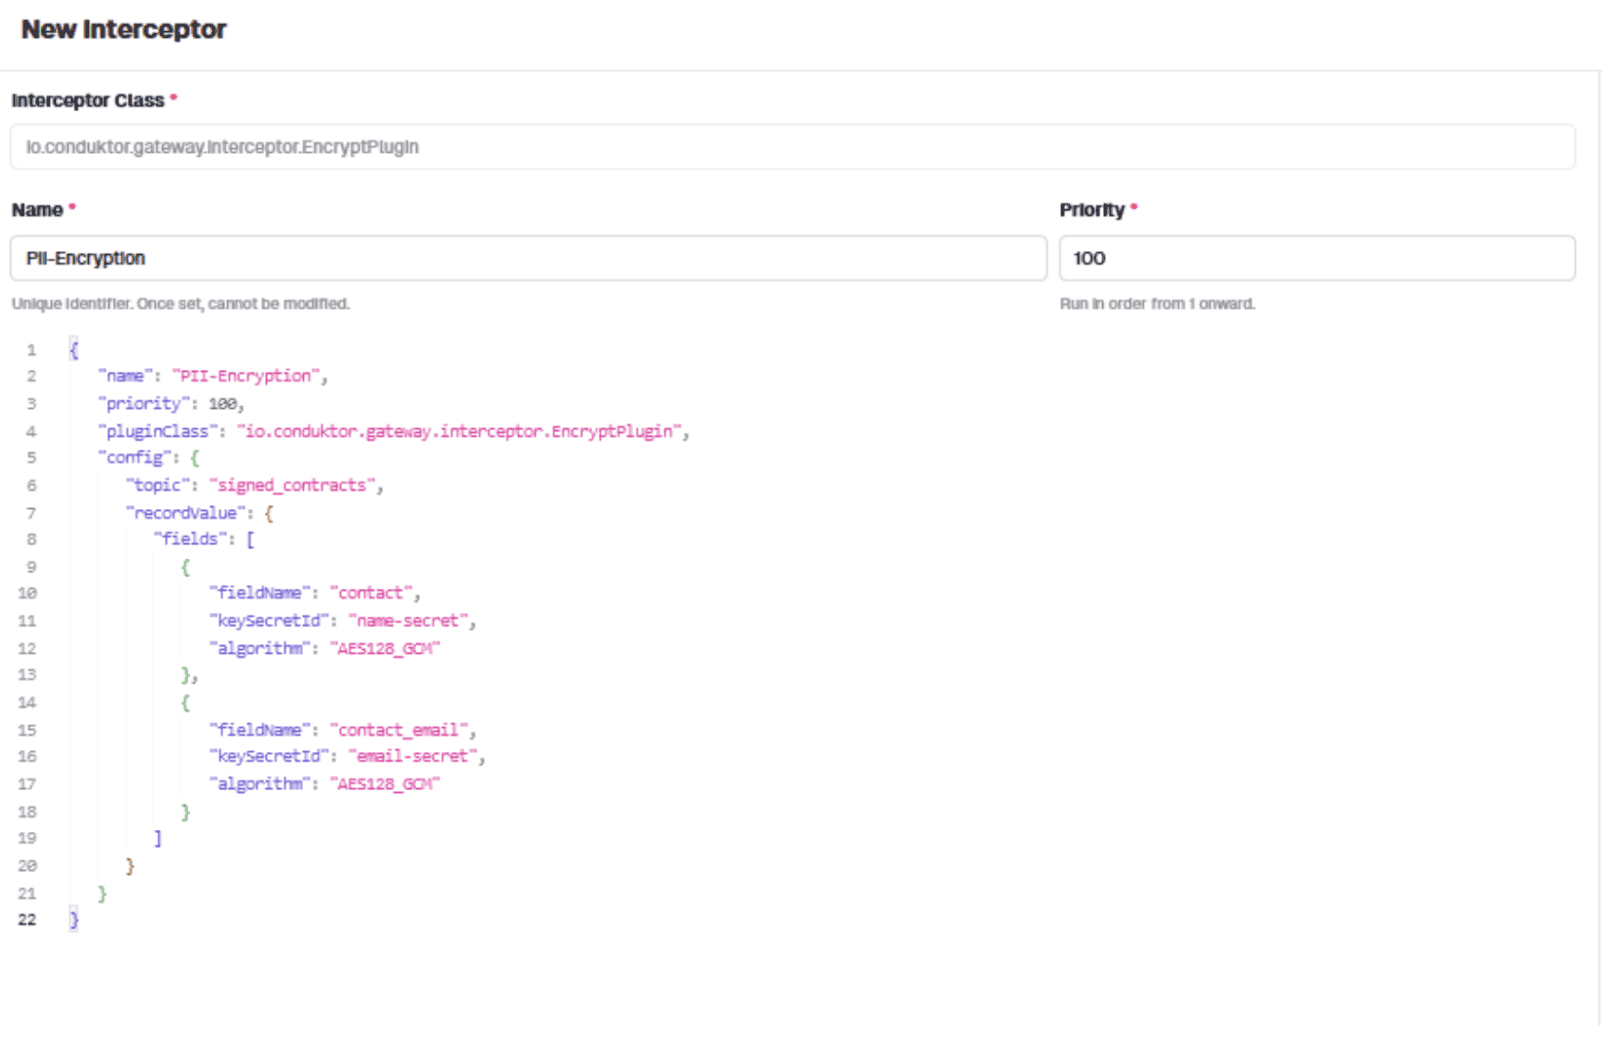
The config specifies: interceptor name, target topic, and which fields to encrypt with which algorithm. The interceptor encrypts 'contact' and 'contact_email' fields using AES128_GCM.
Deploy the interceptor, then return to Topics and send a contract:
{
  "title": "contract",
  "date": "01/07/2024",
  "company": "Lego",
  "industry": "Toy",
  "contract_value": "£2,500,000",
  "contract_duration": "3 years",
  "contact": "Niels B. Christiansen",
  "contact_email": "nchrisiansen@lego.com"
}
Click the message in the consume tab. Contact details are now encrypted:
http://localhost:8080/console/cdk-gateway/topics/
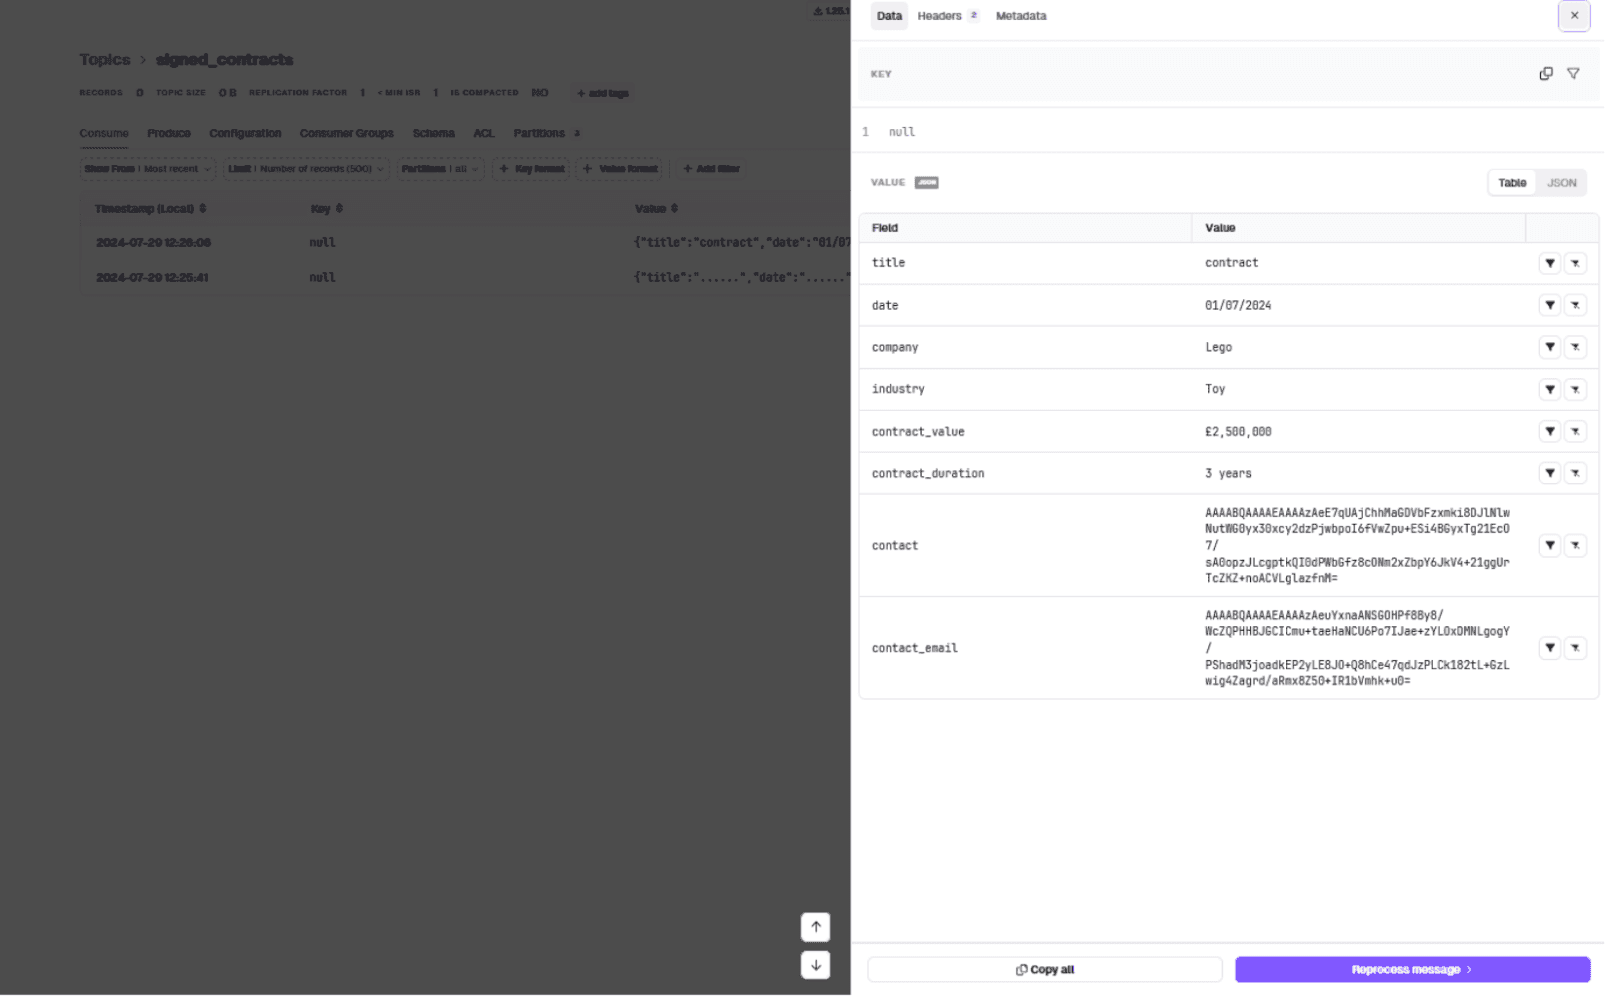
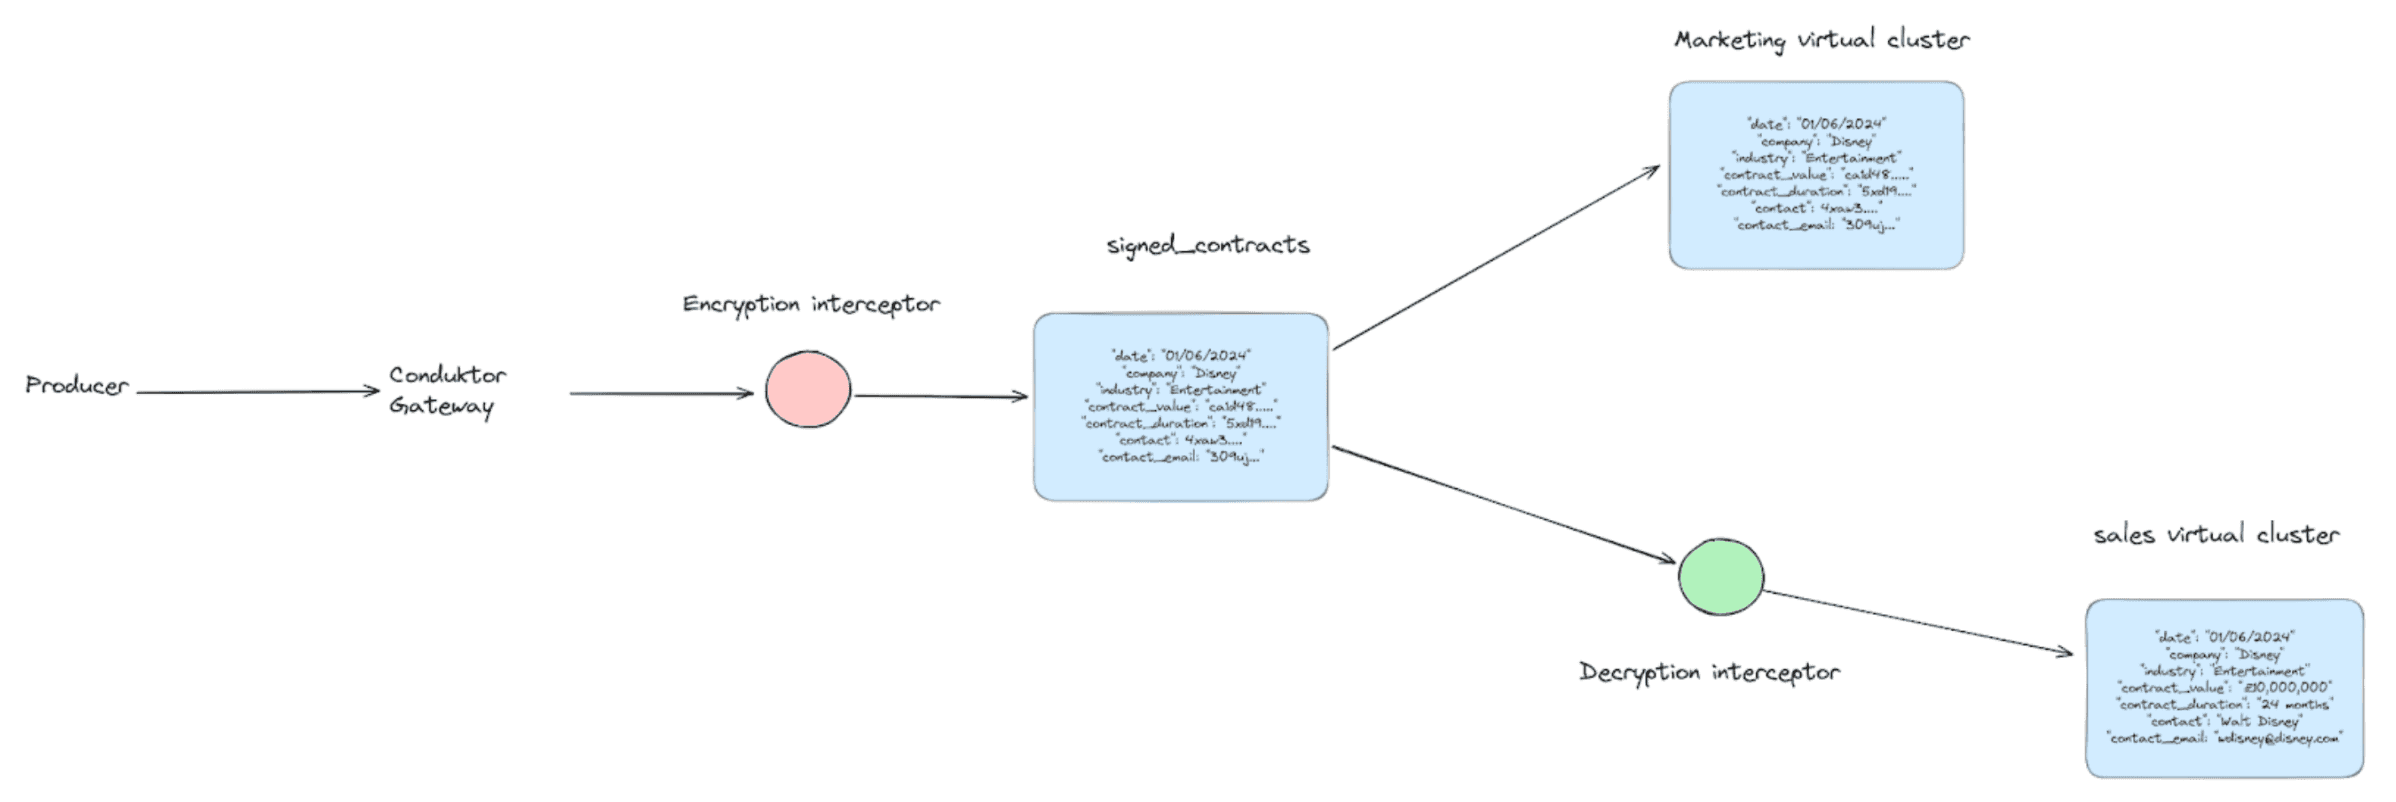
All contracts entering the pipeline now have personal details encrypted at rest. The interceptor sits on Gateway's Kafka proxy and acts on each message produced to the signed_contracts topic.
Mapping Virtual Clusters to the Encrypted Topic
Give marketing access to the signed_contracts topic:
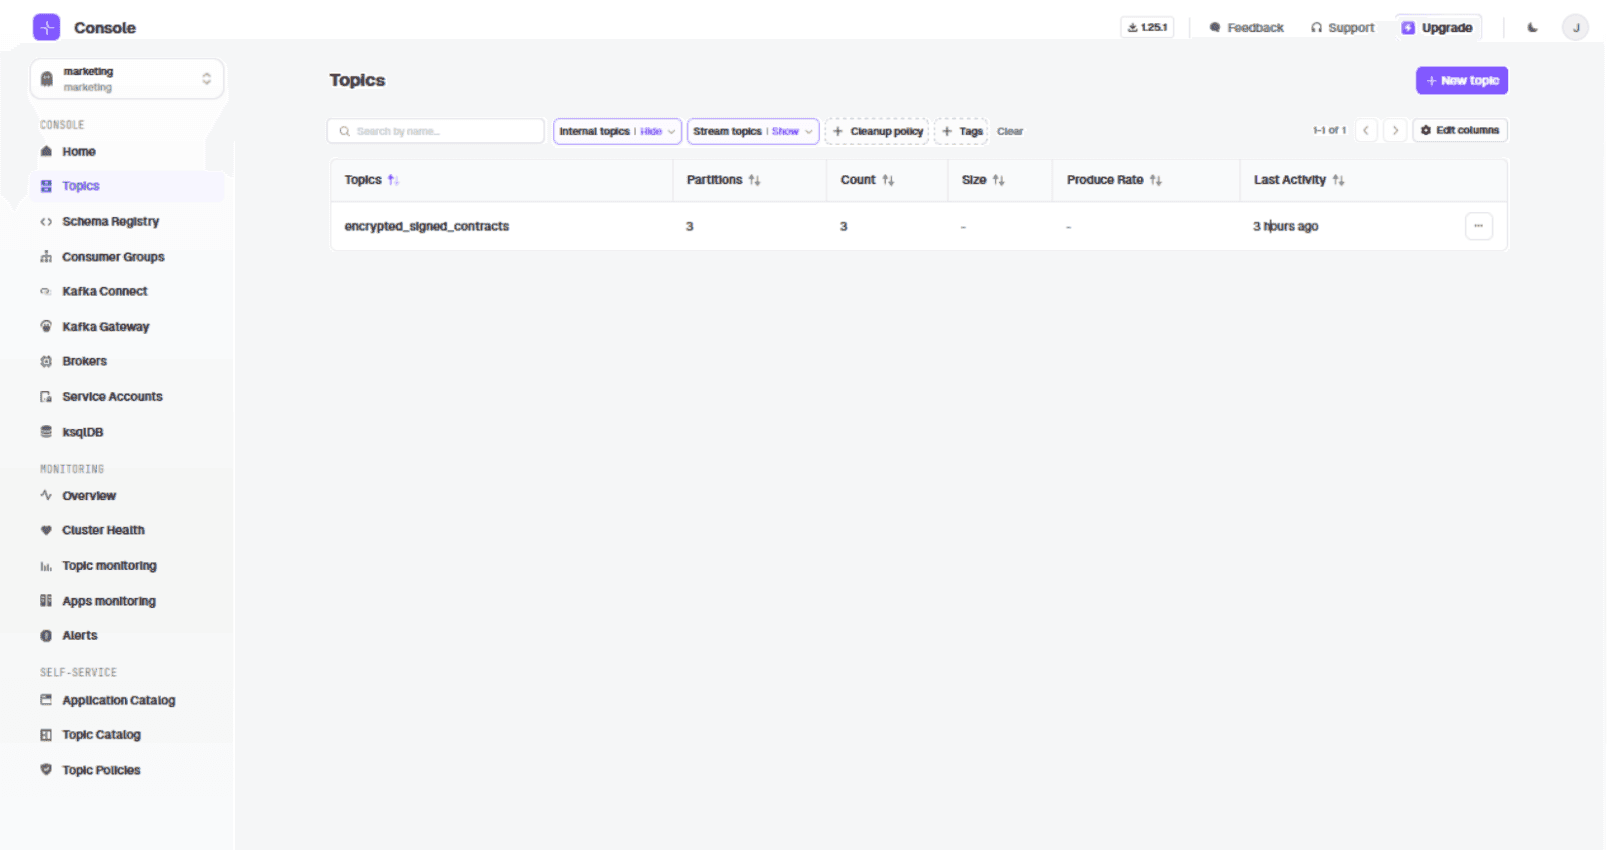
curl --request POST 'http://localhost:8888/admin/vclusters/v1/vcluster/marketing/topics/encrypted_signed_contracts' \
--user 'admin:conduktor' \
--header "Content-Type: application/json" \
--silent \
--data-raw '{ "physicalTopicName": "signed_contracts", "readOnly": true, "type": "alias" }' | jq
The alias encrypted_signed_contracts hides the physical topic name from marketing. Reopen the topics tab when switching between clusters.
Create the topic mapping for sales:
curl --request POST 'http://localhost:8888/admin/vclusters/v1/vcluster/sales/topics/decrypted_signed_contracts' \
--user 'admin:conduktor' \
--header "Content-Type: application/json" \
--silent \
--data-raw '{ "physicalTopicName": "signed_contracts", "readOnly": true, "type": "alias" }' | jq
Configuring the Decryption Interceptor for Sales
Consuming data in the sales vCluster still shows encrypted data. We need a decryption interceptor.
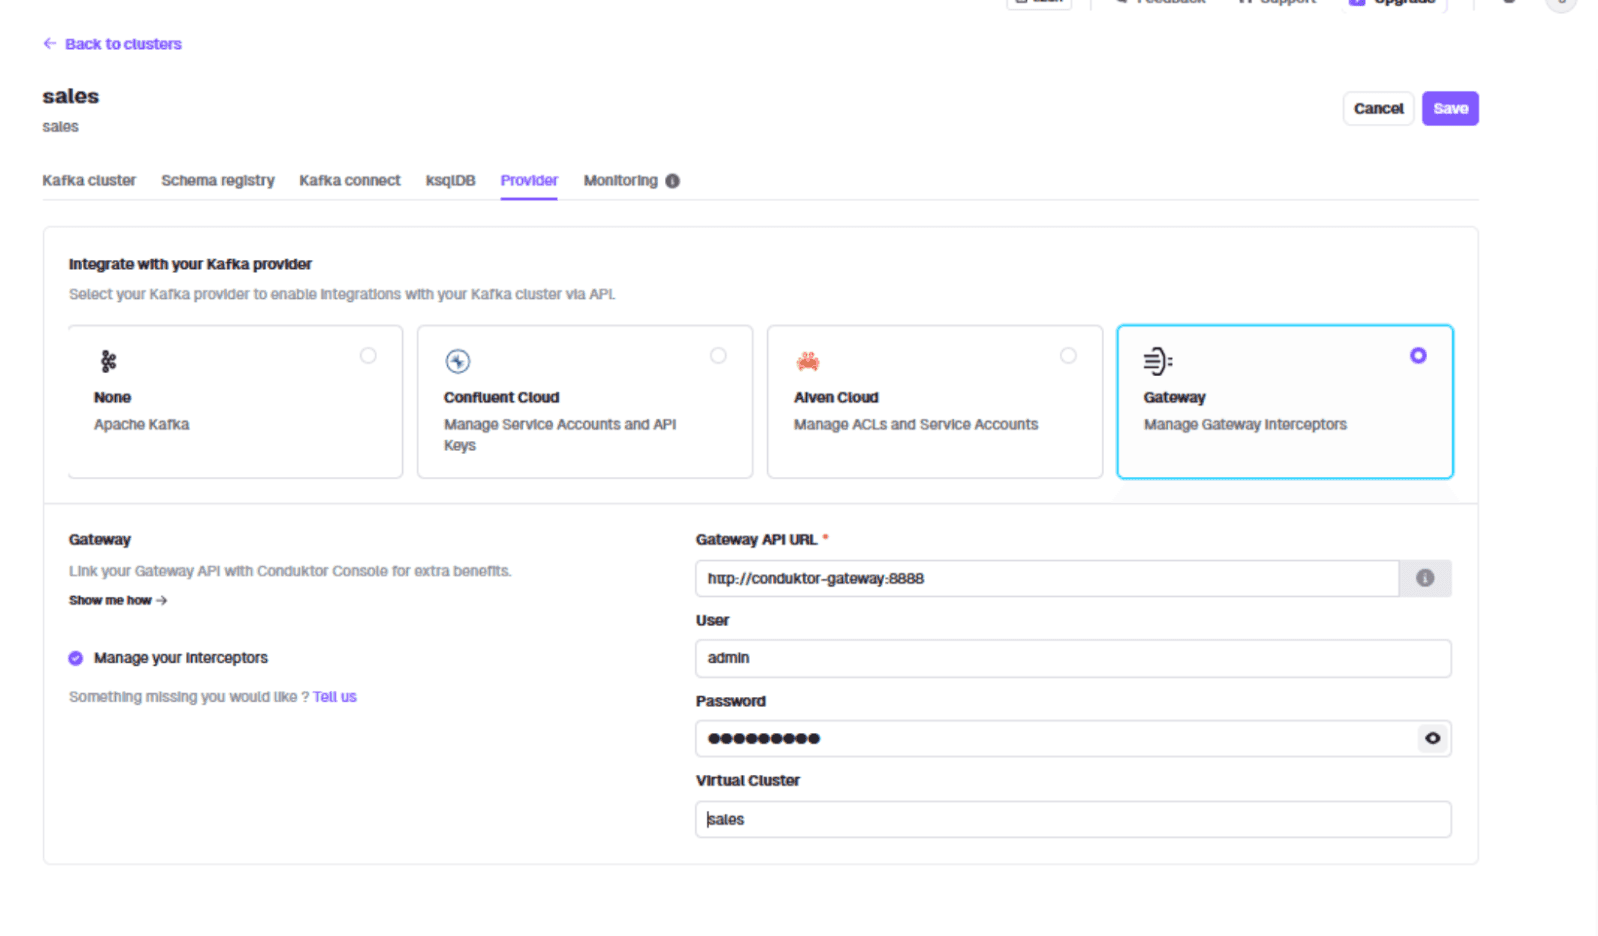
Connect the sales vCluster in Console to the sales vCluster on Gateway. Go to the 'Provider' tab:
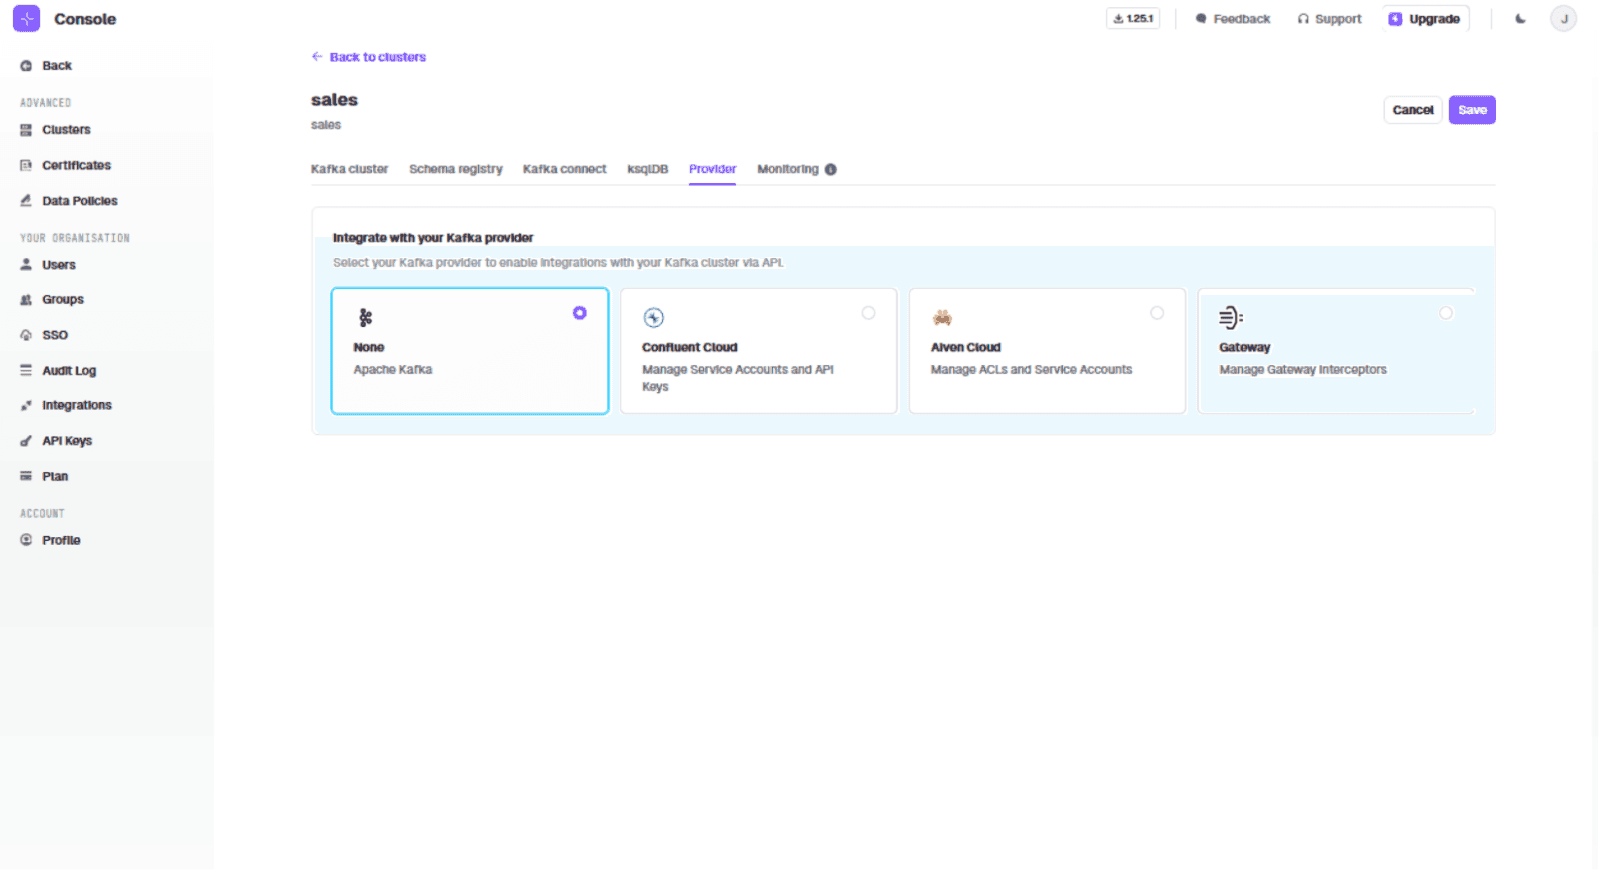
Enter the URL 'http://conduktor-gateway:8888' and credentials 'admin:conduktor', specifying the sales vCluster:
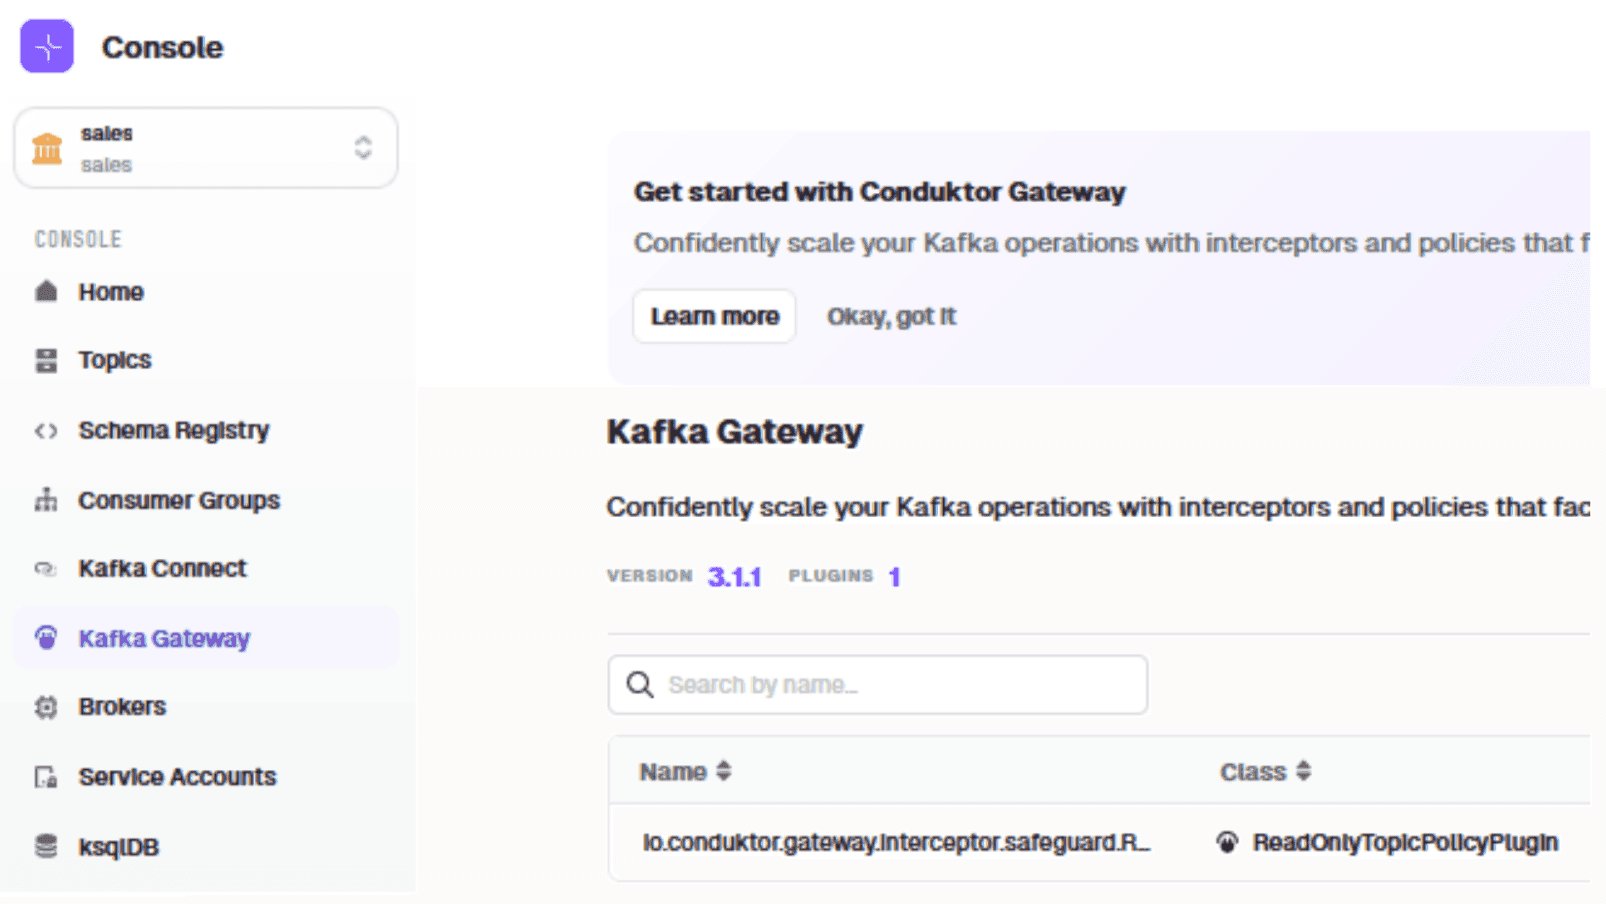
Go to 'Kafka Gateway'. You will see an existing interceptor that maps decrypted_signed_contracts to signed_contracts (created by the previous POST command).
Add the decryption interceptor using the 'field level decryption' plugin:
{
  "name": "PII-Decryption",
  "pluginClass": "io.conduktor.gateway.interceptor.DecryptPlugin",
  "priority": 100,
  "config": {
    "topic": "decrypted_signed_contracts",
    "recordValueFields": [
      "contact",
      "contact_email"
    ]
  }
}
The decryption interceptor targets the same 'contact' and 'contact_email' fields.
The interceptor is now visible in the sales vCluster:

Testing the Complete Pipeline
Produce a second contract in the Gateway cluster:
{
  "title": "contract",
  "date": "01/06/2024",
  "company": "Disney",
  "industry": "Entertainment",
  "contract_value": "£10,000,000",
  "contract_duration": "24 months",
  "contact": "Walt Disney",
  "contact_email": "wdisney@disney.com"
}
The encryption interceptor encrypts sensitive fields. When sales consumes the message, the decryption interceptor decrypts them:
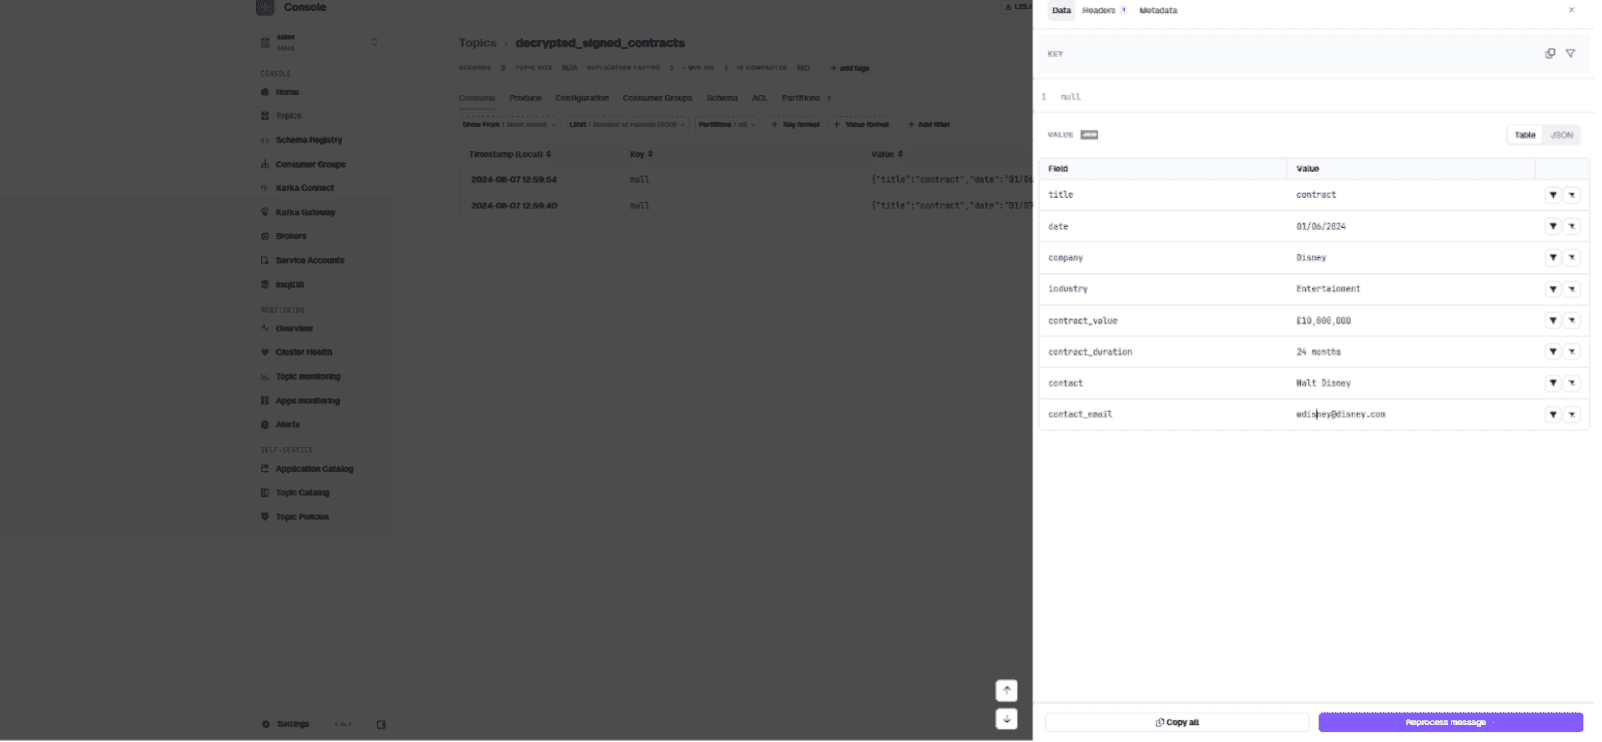
Contracts entering the pipeline are encrypted on ingestion. Marketing sees encrypted contact information. Sales sees decrypted contact information.
Next Steps
The tutorial repo contains 'bonus_contracts' you can produce to signed_contracts.
To extend this:
- Add an engineering team to Console subscribed to signed_contracts with all data encrypted
- Explore the Encryption interceptor's supported KMS options
Questions? Reach out on Slack.